Seeedstudio Fusion PCB Review

Fusion PCB is a PCB service from Seeedstudio. They have been offering PCB prototyping service since I made my first board in 2011. It has recently been revamped a little, tweaking prices and options, as well as integrating an online Gerber viewer from EasyEDA. I was invited to give Seeedstudio’s revamped Fusion PCB service a try, and since I had some boards in the pipeline for manufacture, I thought why not?

You can configure various options for the PCB, such as board thickness, copper pour and surface finish. You can also make flex PCBs or aluminium for better heat sinking, as opposed to regular FR4. These options will of course come at a price. However, you can select various colours for your PCB at no additional cost.

The Boards

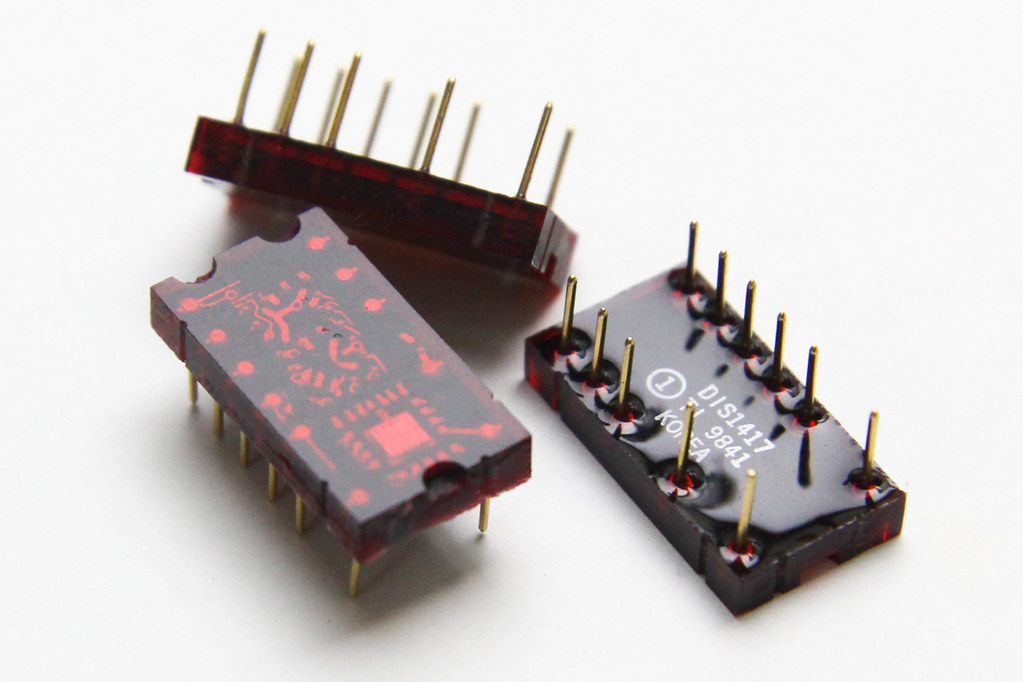
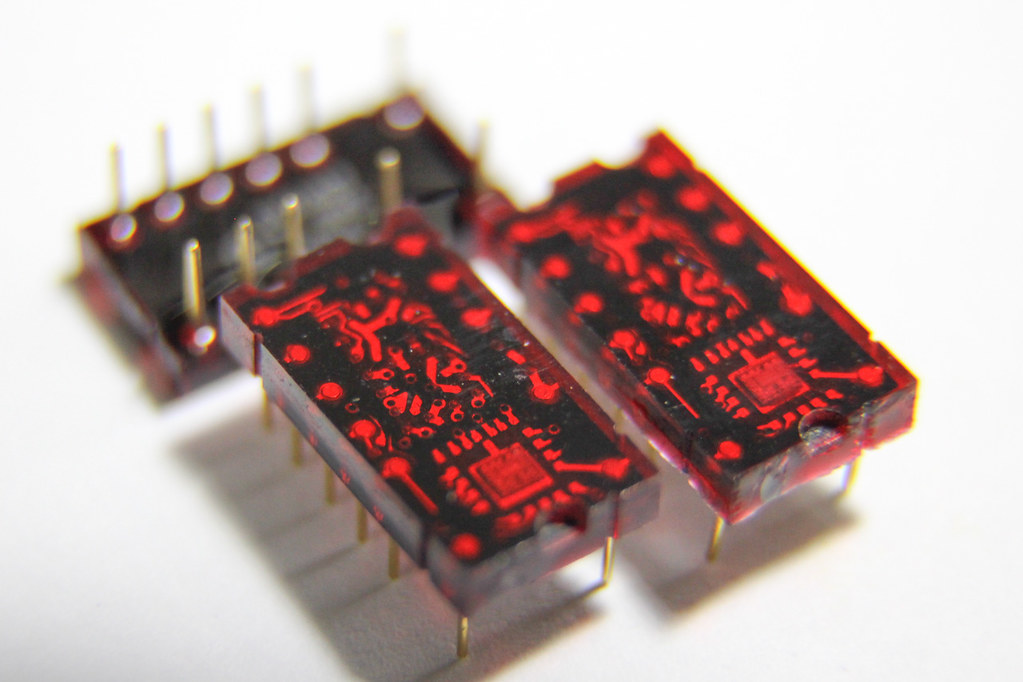
I ordered 2 sets of boards in total. I’ve decided to opt for an ENIG finish for the TIL311 display boards, just because it looks nicer in gold. The boards are manufactured with black solder mask, making the gold pads stand out better.

I’ll describe the display board in a separate post after I’ve assembled it. For now, here’s what 4 of the boards look like, component side up:

TIL311 display PCBs

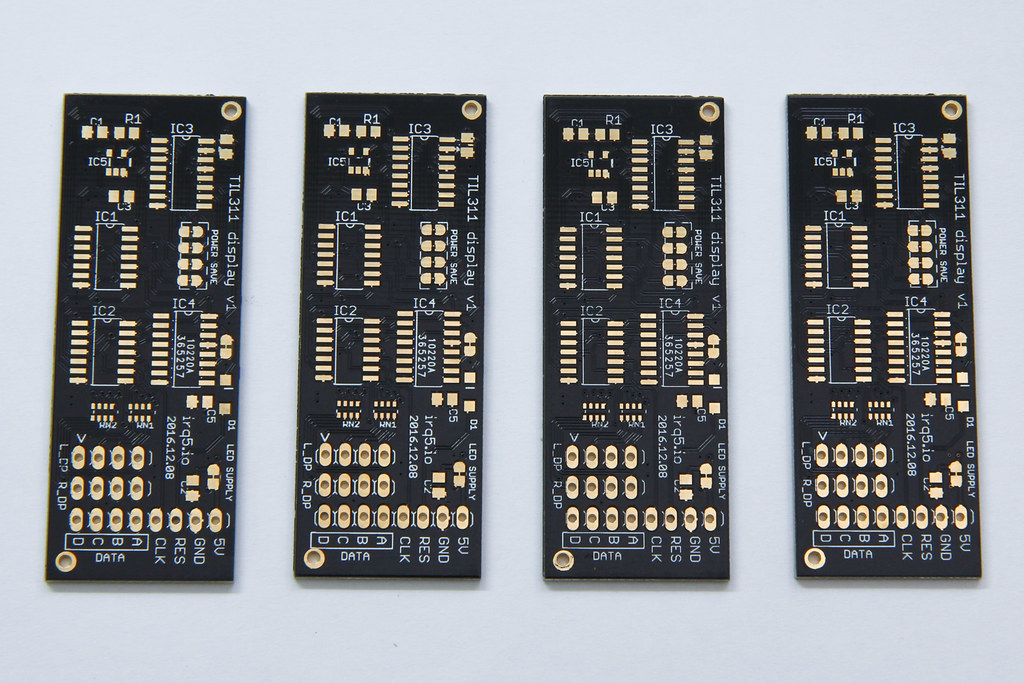
Like most PCB prototyping services, they track your order by printing some kind of order identifier onto each PCB. Usually they try to put this identifier underneath a component like an IC so it gets hidden when the board is fully populated, but sometimes they put it somewhere prominent, like under your product name. On this board, the identifier sits under IC4 but for the other board, it was under the product name.

The PCBs arrived in a shrink-wrapped bubbly packaging to protect the boards. There was also a desiccant thrown in for one set of the boards to keep it dry.

PCBs arrived in bubbly shrink-wrap

Continue reading

Raspberry Pi Zero as Multiple USB Gadgets

In case you haven’t heard, the Raspberry Pi Zero is the smallest, most low-cost device in the Raspberry Pi family, but it’s also the hardest to find. It has two Micro-B USB ports, one for power and another functions as a dual-role USB OTG port.

Raspberry Pi Zero, back side

One of the more interesting uses for the Raspberry Pi Zero is to get it to behave as a USB device, just like your USB flash drive, for example.

There have been several guides written already, such as the Adafruit one, but most of them were based on the old kernel gadget drivers, like g_serial and g_ether. It still works, but not as flexible and likely to be deprecated in future.

Continue reading

Retro LED Displays

When I saw this post on Hackaday, I thought the display looks cool. Even the people who commented on the post thought so too. This board that you see in the post monitors the bus for the Z80 in the RC2014 retro Z80 computer kit.

After some searching and the wisdom of the Hackaday crowd, I bought a few of them from eBay. It turns out that these displays are no longer being manufactured anymore. These used to be made by Texas Instruments, the TIL311 or DIS1417.

TIL311 / DIS1417 Displays

I like how the display looks like a pseudo LED matrix, forming a 7-segment display. They could have made the edges totally flat, just like a 7-segment display, but they chose to round the corners of certain digits and letters, like 0, 2, 8, A and others.

TIL311 font map

Each display has a built-in chip at the bottom of the digit, which you can see under bright lighting in close-up photos. The chip handles the latching and display logic, and contains a constant-current driver for all the LEDs to output a single hex digit (0-9, A-F). This was handy for old-school logic systems (like the Z80) because each display handles 4 bits, exactly a single hexadecimal digit. You could also interface this display easily without a microcontroller, as opposed to a display that that speaks I2C.

From the date code in the photos, you can that these displays were made in Korea in 1998. The pins look like they are made of gold, or gold-plated.

Continue reading

LabyREnth 2016 Write-up: “bowie.pl”

Unix track #1 – bowie.pl

This is a Perl script which is really large (3MB). When you open it up, you’ll see it request input from STDIN, then compares it against these concatenated chars like so:

my $input = <STDIN>;
$input = trim($input); 
if ($input eq (chr(5156 - 5035) . chr(-4615 - -4716) . chr(3162 - 3047))) {
  ...

It then has a lot of MIME::Base64::decode() statements, which seem to be building up data in variable $a. Only if the input matches does it go further into the nested if‘s and performs more decoding. Otherwise it just borks.

If you follow further, you’ll notice that at some point it calls eval() with even more Base64-decoded code.

Perl’s Debugging Hooks

One interesting thing I learnt while solving this challenge was that Perl internally has some mechanisms for debugging, allowing you to easily write your own debugger. How easy? You can fit a tracer into a one-liner like so:

PERL5DB='sub DB::DB {my @c=caller;print STDERR qq|@c[1,2] ${"::_<$c[1]"}[$c[2]]|}' \
perl -d my-script.pl

So the gist of solving this challenge would be to check what $input is being compared to, set that into the $input variable, and let ‘er rip. The beauty of this method is, it will even handle the eval() for you. You don’t need to separately decode it and put it back in, or run it as a separate script.

You can find my solver script here. Everything happens in the DB::DB function, which is called before a statement is executed. It then waits for if ($input eq ...) statement, transforms that into an assignment statement and evals it in the program’s context. The rest of the code are just stolen from the Perl debugger to save and restore program context (or something like that).

Save the script as Devel/Tracer.pm, then run the bowie.pl script like so:

perl -d:Tracer bowie.pl < /dev/null

After the script is done, you should get a entrevue.gif dropped in the current directory. That image is a picture of David Bowie with the flag written over him.

I learn new things every time I play CTF.

If you found this Perl debugger thing interesting, you can take a look at these links:

LabyREnth 2016 Write-up: “Regex”

Random track #2 – Regex

This is a challenge involving regular expressions. It reads the huge expression from the file omglob_what_is_dis_crap.txt. The code that reads and evaluates this expression will only provide you with the key if you provide it with an input that doesn’t match this expression. Of course the program runs on a remote server, so you don’t have direct access to the flag.

Inspecting the expression, there’s a lot of “OR” conditions, and splitting them into lines gets you something like this:

^(
.*[^0mglo8sc1enC3].*|
.{,190}|
.{192,}|
.{97}[cgClm]|
.{135}[so1l803]|
   .
   .
   .

If this looks familiar to you, it’s because a similar challenge appeared in PlaidCTF 2015. I solved and wrote about the challenge here using Z3 (an SMT solver).

Basically the first 3 lines of expressions at the start dictate what characters can appear in the input, as well its length (191, in this case). This, however, is a watered-down challenge compared to the PlaidCTF one. You do not need to use Z3 in this case. To illustrate what I mean, if you sort each of the regex part in numeric order using sort -k 1.3n, you get this:

.{0}[eo1Cnsc0lm38]
.{1}[3]
.{1}[8l0osm]
.{1}[c1C]
.{1}[en]
.{2}[18]
.{2}[3omsglcn]
.{2}[C]
.{2}[e]
.{3}[3]
.{3}[com8negC]
   .
   .
   .

Using a script, you can easily piece together what characters should (not) go into each position, and thus, construct the correct input to feed to the server.

Because I’m lazy, I decided to re-use my solver script from last time. At that time, the character set was "plaidctf" but this time round it’s "0mglo8sc1enC3", the length of which is unable to fit exactly into N bits (not a power of 2). So I made a few modifications to make it use Z3 Ints instead of a BitVec to support arbitrary string lengths. Fortunately I did a good enough regex parser the last time, so that worked out of the box. (Never did I imagine that it would ever be re-used again.) Now all you need to do is to change the valid character set and length of the flag at the top of the solver script, and off it goes!

I said this was watered-down because Z3 took about 20 minutes the last time to solve PlaidCTF’s constraints. This, on the other hand, took less than one second.