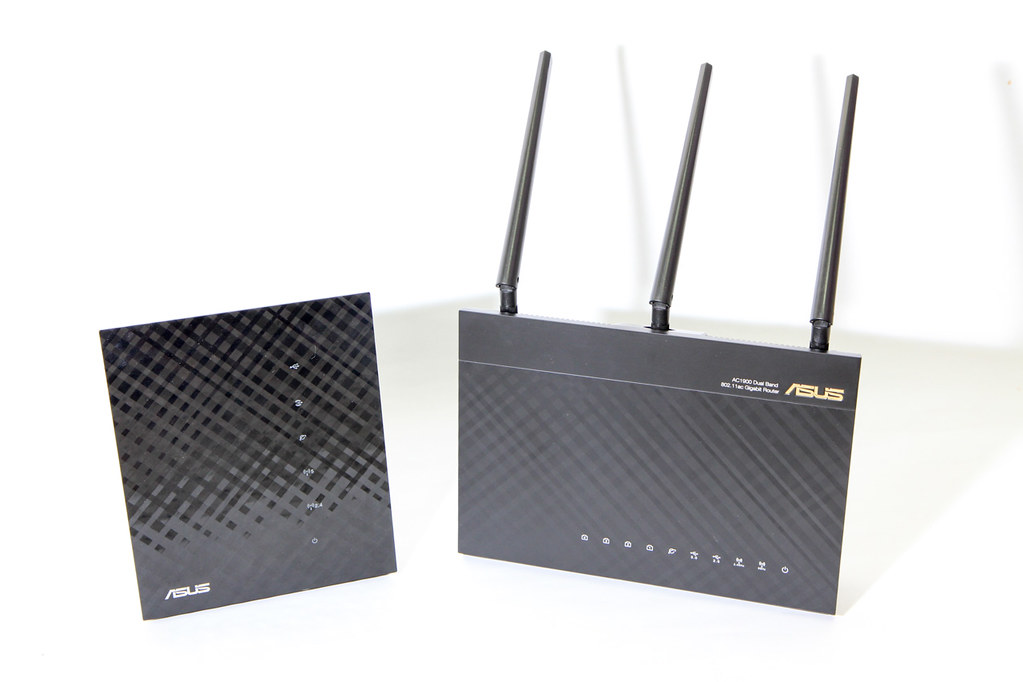
Following up from my earlier post, Asus has released faster and beefier routers. But perhaps the more important change here is that they have moved from MIPS in the RT-N56U to ARM in newer routers. I have also upgraded to the RT-AC68U for better reception and hopefully to fix the poor battery life experienced by my Android tablet.
After upgrading, I noticed that the method I described back then no longer works. Someone also noticed this, as they translated key portions of my post into Chinese, while pointing out some of the steps that didn’t work.
In this post, I’ll summarize the key changes required to get it working again.
What’s Different?
At some point, they migrated to using SysV init style scripts instead of the .asusrouter script. This file still needs to be present, but it is not executed.
The app directory also moved from being asusware to asusware.arm to reflect the router’s architecture. The original asusware folder with no prefix will default to “mipsel”.
The newer toolchain that they release (together with the source code) can compile ARM binaries fine, so you will need to recompile your programs for ARM if you want them to run on these newer routers.
The init script should be named Snnxxx where xxx is the name of your application; it can be arbitrary, but here I will use dhcpfwd. The two-digit number nn is used for startup sequencing. The script will be called with an action argument, like “start” or “stop”. I have seen scripts that check for “firewall-start” as well, but I’m not sure when exactly that happens (I am guessing when the network configuration changes). This script is where you put your commands to be executed.
To avoid your service being executed more than once, make sure you check for the “start” action argument:
#!/bin/sh

[ "$1" == "start" ] || exit 0

# run your commands here
You can also use case statements if you wish, to perform more advanced action handling. As with usual service init scripts, this is where you check for already running processes, dead PID files, etc.
Additionally, individual programs can be enabled or disabled via a field in the xxx.control file. This control file also contains various other fields like Architecture, Version, Name, etc. which are used by the package manager, but not required for execution. The only line you will need in this file is “Enabled: yes“.
All these probably came from Optware/Entware. The advantage of having such a system allows for separate scripts for each program. Separate files enable modularity, making it easy for a package-based system.
In fact, all we are doing here is crafting a set of files that will meet the minimum requirements for ASUSWRT’s adoption of Optware. If you want to install ready-made packages, you should try Entware for ASUSWRT. You will find the instructions very similar.
Summary
Putting everything together, here’s a tree of the required file system layout on the USB drive:
(root)
  └── asusware.arm
       ├── .asusrouter
       ├── etc
       │    └── init.d
       │         └── S99dhcpfwd
       └── lib
            └── ipkg
                 └── info
                      └── dhcpfwd.control
As you can see, only 3 files are required, with .asusrouter being an empty file.
To aid with debugging, your script can write to the system log, which can be viewed easily from the Web UI. I use a simple one-liner function to aid with logging in my shell scripts:
#!/bin/sh

log() { logger -t testscript -s $*; }

log "hello world from $0"
The system log monitors whether the USB drive is detected and properly mounted. With the proper files on disk, the router should also find and run the init scripts of enabled apps.
With this particular example, the System Log page will show the following:
May  5 15:24:51 kernel: scsi 0:0:0:0: Direct-Access   SanDisk  Ultra Fit   1.00 PQ: 0 ANSI: 6
May  5 15:24:51 kernel: sd 0:0:0:0: Attached scsi generic sg0 type 0
May  5 15:24:51 kernel: sd 0:0:0:0: [sda] 240254976 512-byte logical blocks: (123 GB/114 GiB)
May  5 15:24:51 kernel: sd 0:0:0:0: [sda] Write Protect is off
May  5 15:24:51 kernel: sd 0:0:0:0: [sda] Assuming drive cache: write through
May  5 15:24:51 kernel: sd 0:0:0:0: [sda] Assuming drive cache: write through
May  5 15:24:51 kernel: sd 0:0:0:0: [sda] Assuming drive cache: write through
May  5 15:24:51 kernel: sd 0:0:0:0: [sda] Attached SCSI removable disk
May  5 15:24:53 usb: USB vfat fs at /dev/sda1 mounted on /tmp/mnt/sda1.
 .
 .
 .
May  5 15:24:53 asusware: re-mount partition /dev/sda1...
May  5 15:24:53 disk monitor: re-mount partition
May  5 15:24:54 usb: USB vfat fs at /dev/sda1 mounted on /tmp/mnt/sda1.
May  5 15:24:54 asusware: done.
May  5 15:24:54 disk monitor: done
May  5 15:24:54 admin:  sh /opt/S99dhcpfwd.1 start
May  5 15:24:54 testscript: hello world from /opt/S99dhcpfwd.1
Using the log, you can verify that your script was successfully executed.

That was awesome! Finally I found a way to run boot time scripts! Thanks a lot!
AC86U, Firmware 3.0.0.4.386_51915, it does not works. If anyone has a solution, please leave feedback. Thanks a lot!