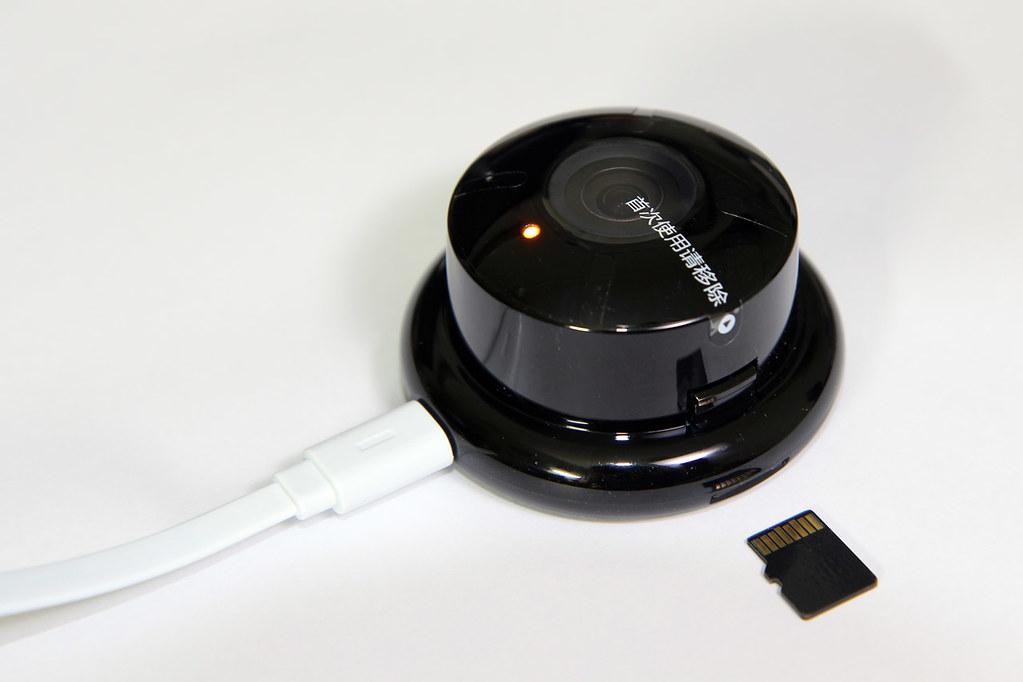
I recently decided to buy new toys to monitor my home — the Xiaoyi IP Camera (I bought more than one). The device itself is round, rather small (as pictured here) and fits into a plastic stand to prop it up. It accepts a microSD card for local recording, and it is only accessible via their iOS/Android app after pairing. The camera is only 720P and goes for 149 RMB (less than US$25).
Since these devices can see a live stream of my house at any time, I would prefer them to be completely within my control. This can be done either via an audit of the firmware or by replacing the firmware with your own (both options are equally tedious). After the “B” firmware version, they also removed RTSP streaming support. You could downgrade to the “B” version, but you won’t benefit from newer changes they have added since then. Let’s get to it.
You can find the firmware images of the Xiaoyi camera online, typically in a ZIP file. I have provided links to this at the end. Unpacking the ZIP file gives you a single file called home. Running the file command reveals that this is a U-Boot image with the file system image tacked on:
home: u-boot legacy uImage, 7518-hi3518-home, Linux/ARM, Filesystem Image (any type) (Not compressed), 7974512 bytes, Wed Jan 21 16:14:18 2015, Load Address: 0x00000000, Entry Point: 0x00000000, Header CRC: 0x2F0FAD85, Data CRC: 0x4B21D5F9
To get to the file system image, a StackExchange answer recommended using U-Boot’s mkimage and a bit of file manipulation to carve out the data. This made me almost want to write my own tool in Python but fortunately someone had already done this before. Use uImage.py from that site to extract the file system image from this home. The file system image is a JFFS2 image named 7518-hi3518-home, and our next mission is to mount it.
JFFS2 Images
At this stage, you can use jffs2reader that comes with mtd-utils to perform a file listing or manually extract individual files. I prefer to just mount it for inspection.
Some links I found advocate using the mtdram kernel module to emulate a MTD device then using dd to copy the JFFS2 image, but that didn’t work for me (I’m using Ubuntu 14.04.3 LTS) and it also wasted RAM by having a copy of the JFFS2 image in RAM.
Instead, the Gentoo wiki suggested another approach using the block2mtd kernel module: use losetup to setup a loopback device with the JFFS2 image then tell the block2mtd module to make this loopback device available as /dev/mtdblock0. You can then mount using this mtdblock0 device. However, you will need to specify the erase size for block2mtd, which I couldn’t find anywhere. I arbitrarily specified a number and it complained about 2 issues, separately — image file must be a multiple of block size, and JFFS2 free lists blah.
Determining Block Size
An idea was to guess the block size from the JFFS2 image but that meant I needed to understand JFFS2 image format first. It was relatively straightforward and I wrote a Python script to parse the image. After poring through the script output, I noticed a pattern:
offset  magic type len
00000000 1985 2003 12
0000000c 1985 e001 46
0000003c 1985 e002 1035
00000448 1985 e001 46
. . .
0016dcac 1985 e002 2940
0016e828 1985 e002 2774
0016f300 1985 e002 2429
0016fc80 1985 e002 891
0016fffc ffff ffff 4
00170000 1985 2003 12    <--
0017000c 1985 e002 1994
001707d8 1985 e002 2561
. . .
0017fd04 1985 e002 611
0017ff68 1985 e001 47
0017ff98 ffff ffff 104
00180000 1985 2003 12    <--
0018000c 1985 e002 1969
001807c0 1985 e002 3089
001813d4 1985 e002 2684
. . .
After the free space (0xffff), the starting offset would always be a multiple of 0x10000 (or 65,536). It seemed like a nice round number for the flash erase size and too much of a coincidence that there was free space immediately before it. After specifying 64KiB as the erase size, block2mtd now complains that the file size must be a multiple of the block size, which somewhat makes sense. Note that the size of the JFFS2 image extracted above (7,974,512) is definitely not a multiple of 65,536. To fix this, I added functionality in the script to pad the image with 0xFF until it becomes a multiple of a specified block size.
The script now parses JFFS2 “nodes” (or what I keep calling blocks), guesses the block size based on where free space occurs within the image, and pads the image file accordingly so that block2mtd doesn’t complain.
TL;DR
Here’s a quick overview of the entire mounting process:
- Extract the JFFS2 file system image from the U-Boot image:
uImage.py -x home - Pad the JFFS2 image to make it work with
block2mtd:
./jffs2.py --pad=0 7518-hi3518-home - Load the kernel modules:
modprobe block2mtd mtdblock - Setup the loopback device:
losetup /dev/loop0 7518-hi3518-home - Associate loopback device with MTD device
- Mount the MTD device (finally)
If all this seems tedious, I wrote a mount-jffs2 shell script that performs steps 3 to 6. You just need to specify the (padded) image file, mount point and block size:
./mount-jffs2 7518-hi3518-home /mnt/image 64KiB
Download
Download the scripts to parse and pad the JFFS2 image and the mount-jffs2 scripts from GitHub here.
Download the uImage.py script from here:
Firmware images for the Xiaoyi camera can be found here:
Further Reading
As you probably can guess, the Xiaoyi camera uses a very popular chipset, the HiSilicon Hi3158 HD IP Camera SoC. If you search around, you can find the SDK as well as various code samples and projects that can run on this SoC. This is essentially an ARM device that has acceleration for video encoding and processing, and best of all it runs Linux.
This thread on the Russian 4PDA forum is rather comprehensive, with firmware links, mods for the RTSP and timezone issues, as well as teardowns to adjust the focus. The only problem is, it’s in Russian.

Great post. Did you attempt to modify an image?
Hi Jack, I have not created a modified image. However, if you need to make any changes, you can modify the filesystem directly after you telnet into the device, so that’s not a problem.
http://xiaoyi.querex.be has now the (RTSP) firmware for the new hardware version V2.1 available for download. Enjoy.
Have you been albe to rip the new 1.8.6.1A_201602241619 firmware? I would like to remove the new Region lock they have implemeted in order to be able to use the camero outside China, as with this latest evrsion it blocks the camera if it’s not in CN.
hey darell,
could you do me a favor? i think you know what you are doing with that linux kernel stuff… 😉 i don’t!!! hahaaa…
i think i bricked my ants camera… no idea what has happend and absolute no idea what i’m doing with that linux stuff…
i managed to get some informations thru minicom, see: http://pastebin.ca/3505444
i am an absolute linux noob and have no idea what i can do to rescue that little cam…:-(
do you think there is a way to get it working again? could you help me how to do that?
thank you very much in advance and sorry for my horrible english!!!
It looks like the kernel can’t find the init program after the firmware was updated. I haven’t played with the camera enough to know if there’s some kind of rescue mode, but I believe you can press Ctrl+C to stop the boot process and maybe write a new firmware to flash from the U-Boot prompt, or maybe boot a recovery partition so that you can flash a new image from the SD card. Hope that helps.
Can’t you just copy firmware to your SD Card (filename = home, put in the root of sd-card), and press reset button in the camera, just like when you downgrade/upgrade firmware … cek http://xiaoyi.querex.be …
Have you tried to compile custom firmware from SDK?
I have only tried compiling programs using the SDK. They run fine on the Xiaoyi device.
Hi, as you have already extracted the u-boot and rootfs can you share a download link?. I have bricked my camera and and finds out if I have u-boot, rootfs, conf , env and home images I might be able to unbrick it.
I don’t have the files with me. You can download the firmware and the tools to extract the necessary parts; all the links have been provided in the blog post.